
First Published 4 May 2023
This article was prompted by a forum thread by Utter Access member Psycoperl UI Design - Tab Control - Multiple Rows. This was the original post in that thread:
I am trying to figure out how to get the tab control to show tabs in multiple rows.
I have more tabs to add and the app my form, instead of adding a row, it is just widening the form's width.
I have the Multi Row property = Yes so I am not sure why this is not working.
Although I regularly use tab controls on forms, I hadn't used the Multi Row property for well over a decade.
When I checked I was able to replicate the behaviour and reported it as a bug to the Access team.
It turns out that it isn't a bug though the cause (and solution) was somewhat surprising, at least to me.
Many thanks to long-time Access team member, Shane Groff, for responding to my bug report and explaining the issue to me.
This article explains how to successfully use the Multi Row property of the Access tab control and suggests several alternative approaches.
Using the Tab Control
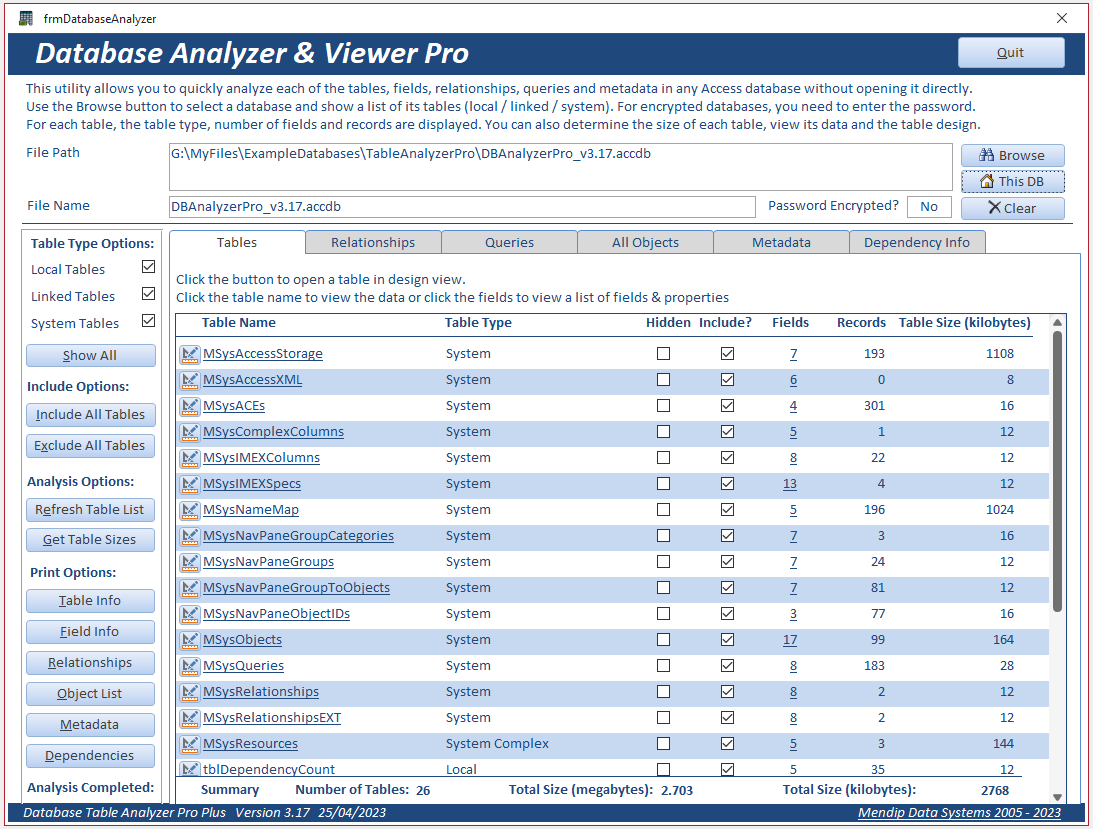
The tab control can be very useful for displaying a lot of information on a form without it becoming overcrowded.

It is used to create a series of tab pages on your form. Each page can contain several other controls including subforms to display related information.
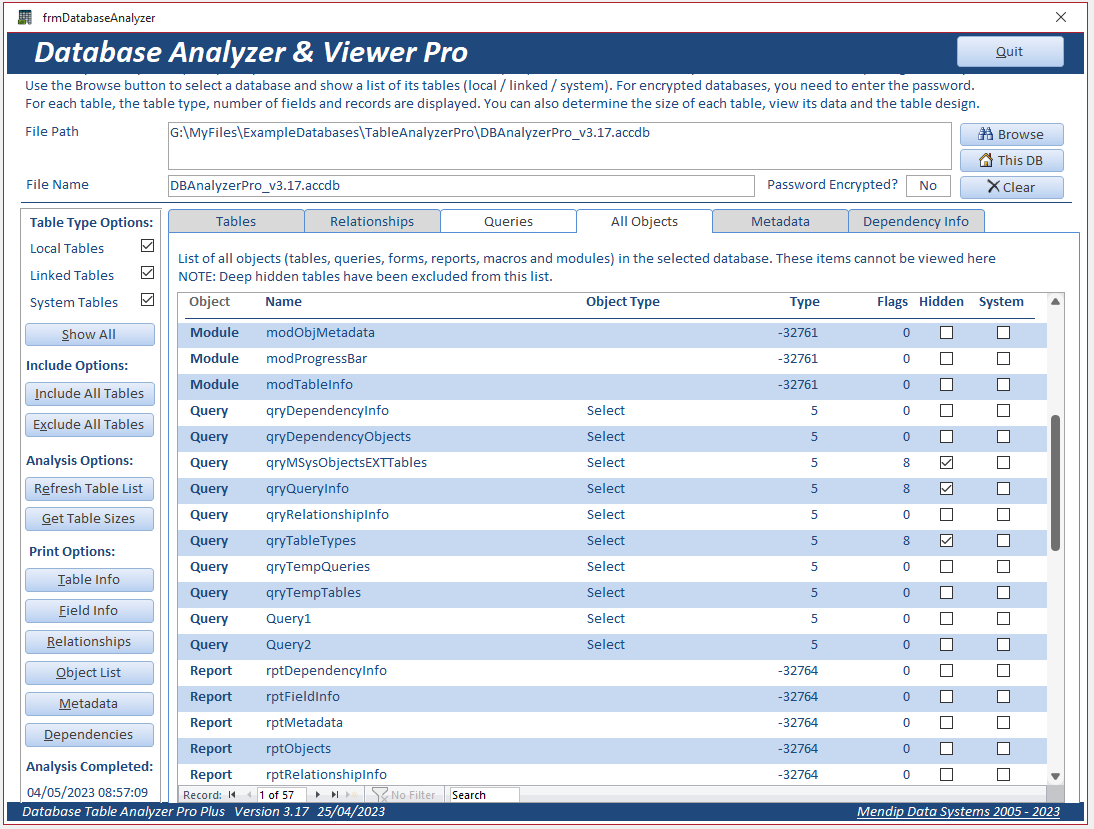
The example below shows two of the 6 tab pages from the latest version of my Database Analyzer & Viewer application
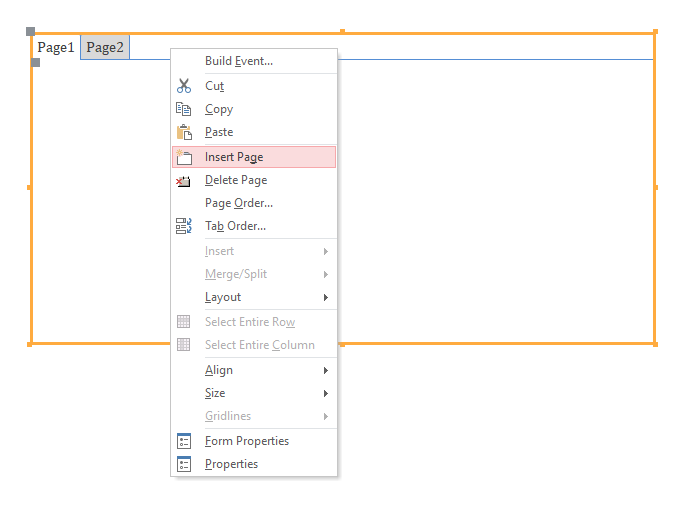
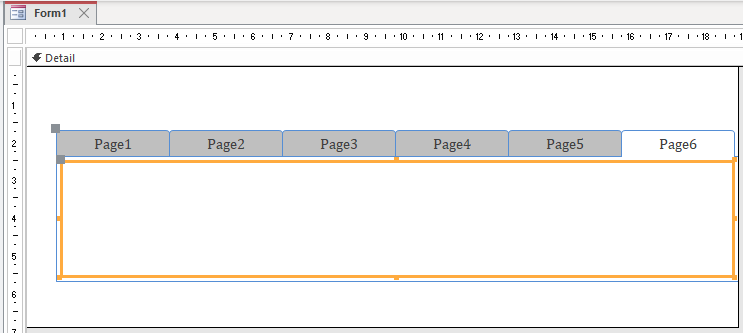
When a tab control is added to a form, it initially contains two tab pages. However, additional pages can be inserted as needed.
When you have many pages on a tab control, setting the Multi Row property to Yes may appear to be the ideal solution.
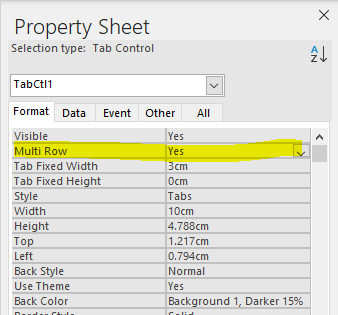
However, it no longer works by default. Instead, if more pages are added than can fit on the tab control, each additional page causes the width of the tab control (and the form itself) to increase until the form eventually reaches the maximum allowed width (currently 22.75 inches / 57.79 cm)
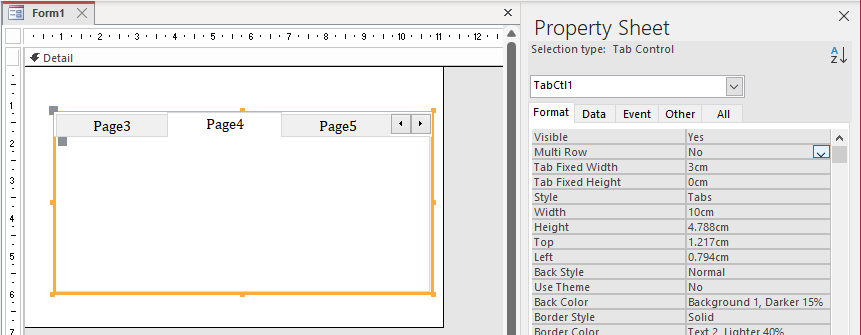
In older versions up to Access 2007, the control behaviour was different.
With the Multi Row property set to No, left/right arrows allowed the user to scroll through pages not currently visible
Alternatively, with the Multi Row property set to Yes, all the tab pages are shown on two or more rows as necessary

So why has the behaviour changed in all versions of Access from 2010 onwards?
The surprising answer is Access Themes. When themes were introduced in Access 2010, they provided additional functionality in many controls.
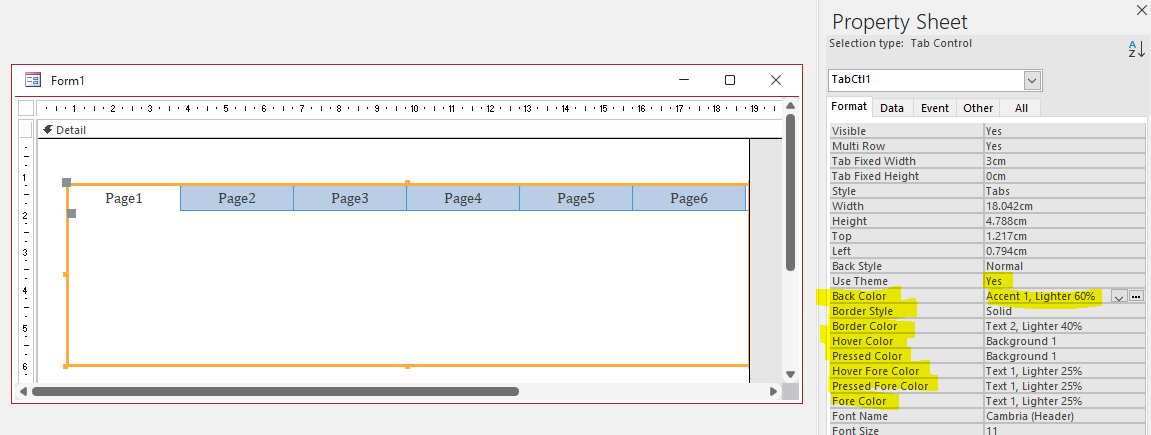
In a tab control, using themes allows developers to change the pressed/hover colours, border style etc.
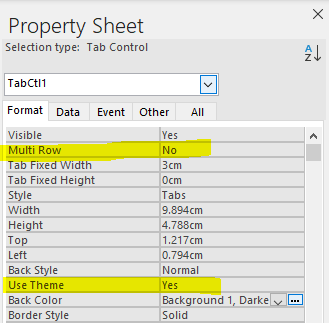
By default, Use Theme is set to Yes and Multi Row is set to No
For the new features to be possible, the Access team created a new tab control, but the Multi Row property wasn't implemented.
Unfortunately, this isn't mentioned anywhere in the documentation for the control
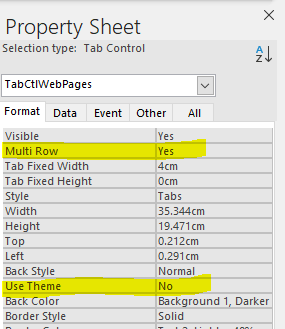
If Use Theme is set to No, Access reverts to the old tab control which does support Multi Row!
So why wasn't the Multi Row property included in the new 'themed' tab control? Possibly because it is rarely used.
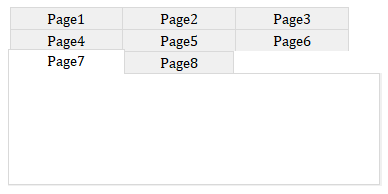
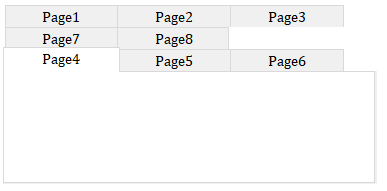
Many experienced developers disliked its appearance and perhaps more importantly, the page order changed when individual tabs were clicked so that the selected page is always moved to the bottom row.
The screenshots below are from the same tab control with different pages clicked in each case
|
|

|
In my opinion this makes for a poor user experience as it is more difficult for the user to locate the page they want
NOTE: If any of the tab control colour or style properties are altered, the Use Theme property is automatically reset to Yes and the control/form width again increases if many pages are used.
Taking all the above points into account, whilst a Multi Row tab control is still possible, I would recommend avoiding using it. Instead, use one of the following methods
Alternative Approaches
The 3 approaches below were created as part of my Automatic Form Resizing example application and were intended to have almost identical functionality
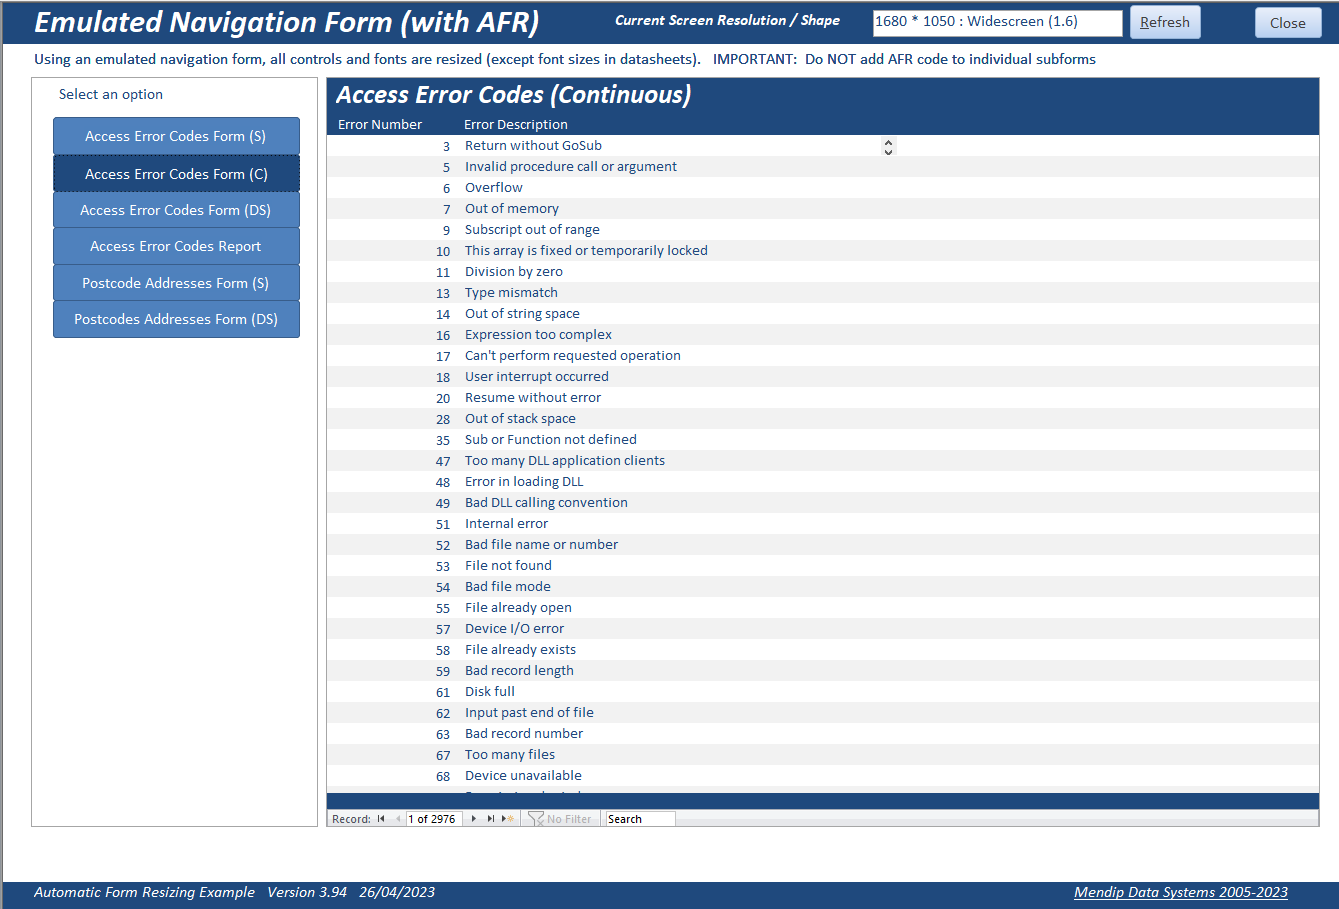
1. Use a navigation form
The built in navigation form allows developers to quickly create a form with multiple navigation buttons and a single subform.
When each navigation button is clicked, the source object for the subform is updated accordingly.
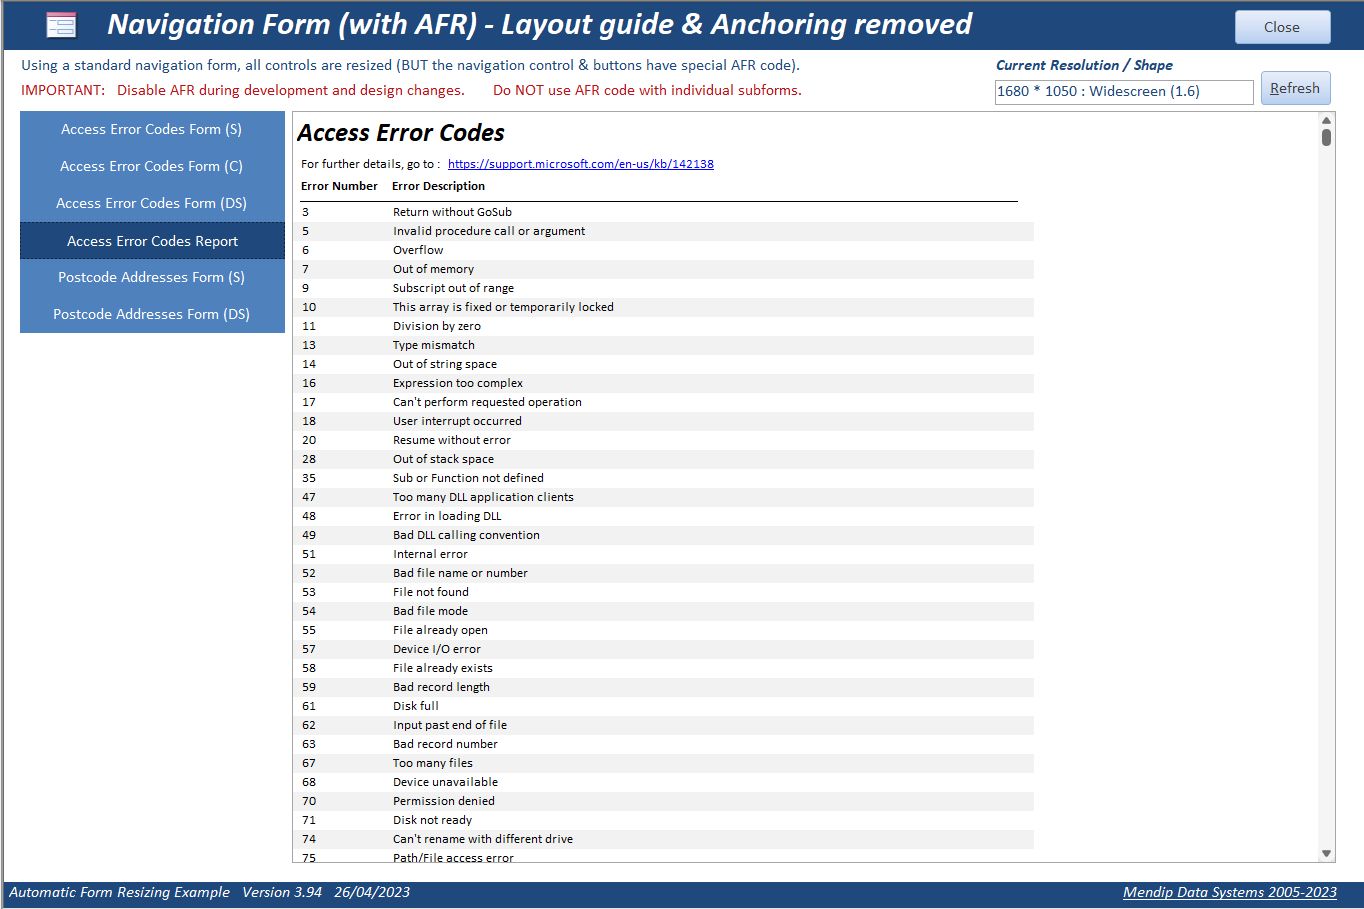
However, most experienced developers (including myself) NEVER use navigation forms in their own applications.
They are more difficult to code and only allow very limited customisation.
2. Use a sidebar control
A sidebar has very similar behaviour but provides more flexibility and greater control for the developer.
It consists of several buttons aligned vertically each of which updates the source object of the single subform
This is a sidebar designed to emulate the earlier navigation form. In many ways it is a variation on the old switchboard form.
3. Use a listbox control
A listbox can also be used in exactly the same way. Clicking any item on the listbox updates the source object of the single subform.
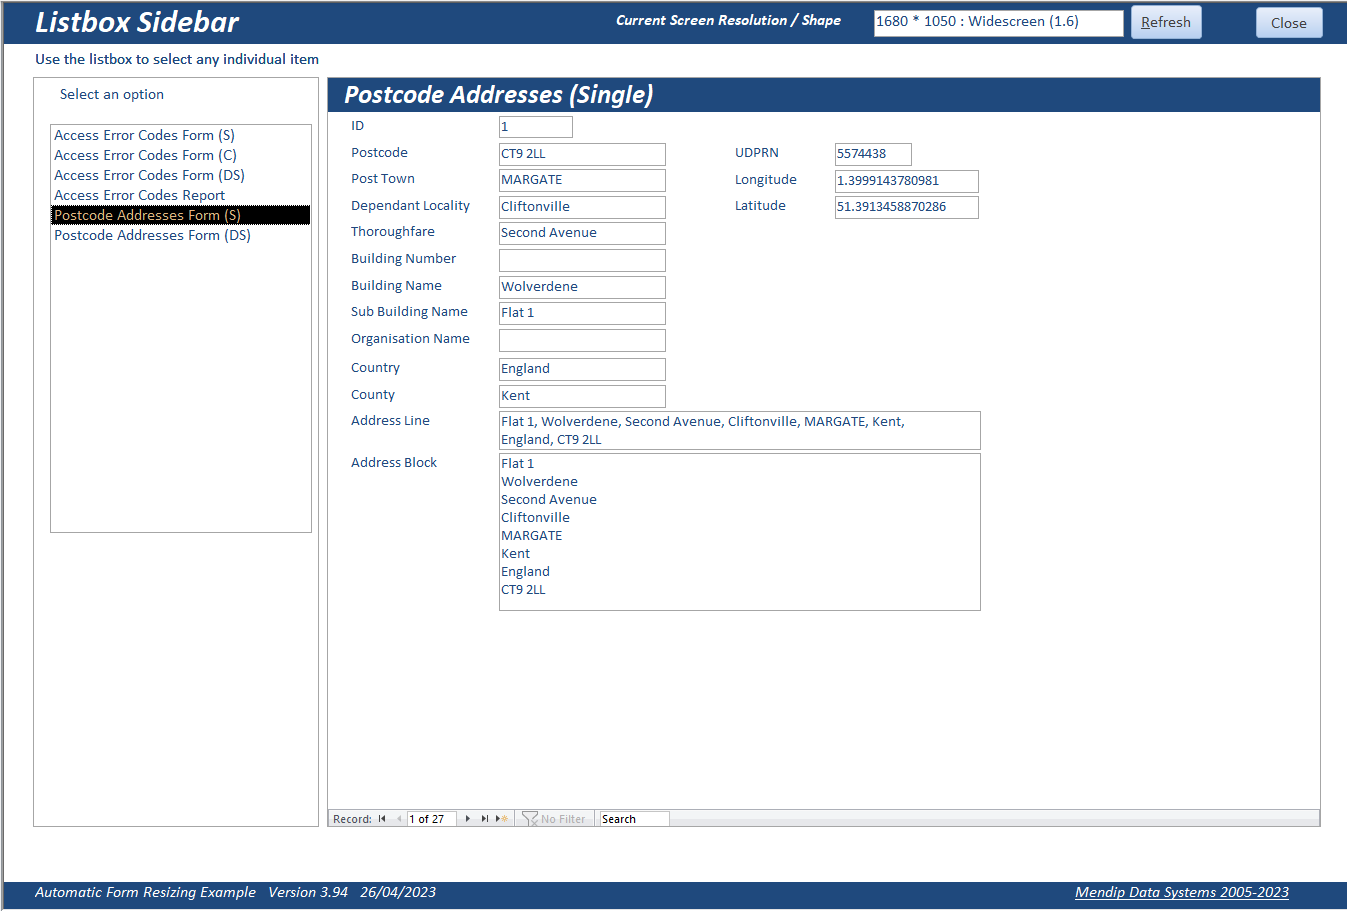
This is probably the simplest approach to implement of the three methods and is very flexible.
Feedback
Please use the contact form below to let me know whether you found this article interesting/useful or if you have any questions/comments.
Please also consider making a donation towards the costs of maintaining this website. Thank you
Colin Riddington Mendip Data Systems First Published 4 May 2023
|
Return to Access Blog Page
|
Return to Top
|